How to take care of a DAS during the renovation of a building
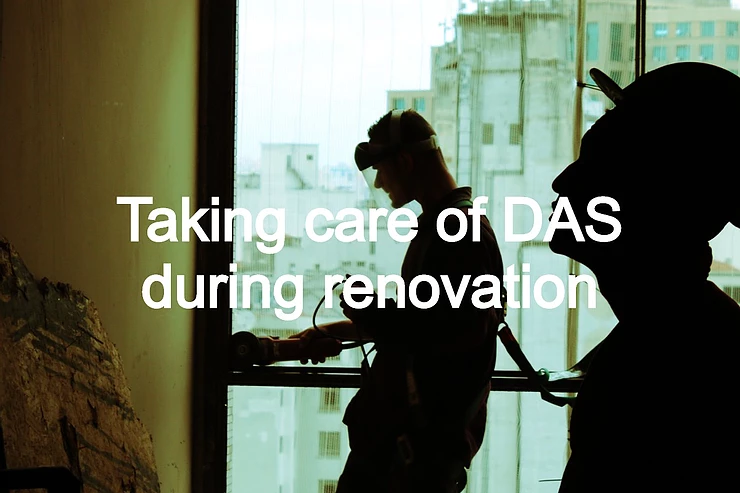
Photo by Guilherme Cunha on Unsplash
In a previous blog post, we discussed several points of failure in a DAS. One of the points of failure was damage to coaxial cable or antenna, and we classified these damages as a major point of failure. If the coaxial cable connected to an antenna or the antennas itself is damaged, the antenna may stop broadcasting and disrupt the signal.
Contrary to our expectation, unfortunately, we experience failure due to coax and/or antenna most frequently - especially on big campuses where there is always some sort of renovation construction is taking place.
In the past 6 months, we have been called to troubleshoot 10+ inbuilding systems that were damaged during renovation work. All renovation work took place on either a floor or part of a floor – only one renovation work was throughout the building.
In this post, we will discuss how to take care of a DAS or inbuilding wireless system when the renovation work is about to take place. We will limit our discussion to construction work just in the partial area of the building and not the whole building.
I am also assuming that MDF or DAS Head-room will not be affected during the renovation. Discussion on building-wide renovation or renovation that includes DAS head-end electronics will need a different kind of approach and treatment and beyond the scope of this post.
Once the damage to the inbuilding system (i.e., DAS) is done, it’s become expensive to fix. With some pre-caution damage to the DAS can be minimized. But let’s look at it.
Why fixing damage to the DAS can be expensive?
We often run into this misconception held by the construction workers that it will be relatively cheap to replace coaxial cables that are in their way of renovation work. In the past, we have seen in a lot of cases that workers will just cut these cables and only preserve the antennas.
The expensive part is not so much the materials, but the installation and especially the subsequent testing. In the post ‘What is Carrier-Grade DAS?’, we mentioned that DAS engineers run 3 types of tests common for most carrier-grade DAS.
Sweep and PIM (Passive Intermodulation) tests for coaxial cable in multiple frequencies
OTDR and Optical Loss Tests for fiber
CW (Continuous Wave) test on the completed system
The purpose of these tests is finding a fault or defect in the system, signal continuity at intended frequencies, reducing loss while the signal is traveling through the system, and minimizing interference. Depending on what has been damaged, we may have to run 1 or all 3 tests. The gears required to run these tests are very expensive (to purchase or rent). Whenever we are installing a DAS or just part of the DAS (as in the case of fixing of damage) DAS Integrators will have to run these tests to ensure the quality of the signals.
What steps can we take to minimize the cost of fixing the DAS?
Easiest and best way is to contact the people who maintain the DAS or the system integrator who originally built the DAS. If you find either one of these guys, ask for their help. If these people are not available, follow the guidelines below if they apply.
Survey the area and identify the potential ‘affected’ areas:
Often the ‘affected’ areas of DAS may not only be limited to the area marked for the renovation area. More about that in a few seconds.
Ask the customer if they have any close-out package of the DAS. This package should have an as-built drawing that will show where all the DAS elements are located (e.g., fiber housing, electronics, coaxial cable, splitter/couplers, and antennas).
If you don’t have anything on paper, visually inspect the elements in the planned renovation area. To achieve this, you may have to get into the ceiling area in addition to the IDF or telco closet.

Typical locations of DAS devices
Let’s look at all the common DAS elements:
Electronics and fiber hub:
DAS electronics will typically be in the regular telco or IDF closet or in the ceiling areas. In most cases, these electronics will be mid or high-power remotes. If the remote is wall or rack-mounted, most likely they serve multiple antennas.

Extent of impact: 1 antenna & remote in renovation area, but 3 more antennas are connected to the remote
You must be careful when the remotes are serving multiple antennas. Don't just shut the remote off. For example, if there are 6 antennas connected to the remote, and the area where you will renovate has only 3 antennas, if you shut off the remote, the other 3 antennas which are not in the construction area will lose signal coverage (see image). Each antenna can cover over 5 thousand sq. ft., so you may end up disrupting the signal coverage for a sizeable area. Find out the area of potential disruption.

Typical wall-mounted remote in an IDF Closet
If you can safely turn the remote off, then that is preferable. Turn it off, take it away from the work area to prevent dust from getting into it.
If you cannot turn it off due to disrupting coverage in the area, figure out a way to protect it from dust. Don’t just wrap it up with plastic – we have seen quite a few instances of that. These remotes generate heat and there must be some way for the remote to cool down through air circulation.
Remotes can also be ceiling mounted – and in these cases, they are usually low powered. Only 1 or 2 antennas may be connected to them. These remotes are probably safer to turn off if it’s in the work area.

Low power ceiling mounted remote
Fiber Housing
Identify the fiber housing close to the electronics. Make sure that the fiber housing has a dust cover. I am assuming that the people working in the area have enough sense not to pull the jumpers going from fiber housing to the remote.
Coaxial Cable:
Coaxial cable looks and feels sturdy, but it can be quite damage-prone. Fiber which is made from glass is actually hardier. Because of this reason don’t stand on the coaxial cable, because it can easily damage the cable enough to disrupt signal transmission.

A piece of Coaxial Cable used for DAS (Source: RFS)
Don't put a kink in the cable, it will impact the signal going through it. Coaxial cable has a bend radius, so if you want to create a service loop you need to be aware of this bend radius. It will be best if you can just work around the cable, couplers and the antenna and not disturb them.
Don’t cut the cable until you plan to replace it and run all the tests mentioned at the beginning of the post. We have seen the coaxial cable just sawed-off because the CX workers thought these are just mechanical tubing and easily replaceable.
Antennas:
Usually, the antennas are placed under the ceiling tile. During CX, you can gently raise it to the antenna above the ceiling tiles and secure against the ceiling if possible.

Two types of typical DAS antennas - Omni & Directional
Communications:
Good communication is probably the best way to preserve a DAS during renovation construction work.
Communicate with the workers who will work around the DAS, and let them know the do-s and don’t-s.
Communicate with the users in the area surrounding the area of work about the possible disruption of coverage ahead of work.
In summary, the two best practices are:
Handle all the DAS elements with care, and
Communicate the do-s and don’t-s with the people working in the area and manage the expectation of the users around the affected area.